| Theme |
Ritual:
A ritual "is a sequence of activities involving gestures, words, and objects, performed in a sequestered place, and performed according to set sequence." Rituals may be prescribed by the traditions of a community, including a religious community. |
| Sample Arduino Code |
// Include the Servo library
#include <Servo.h>
// Declare the Servo pin
int servoPin = 3;
// Create a servo object
Servo Servo1;
// Create a LED object
int ledPin = 2;
void setup()
{
// We need to attach the servo to the used pin number
Servo1.attach(servoPin);
}
void loop()
{
//Make servo go to 0 degrees
Servo1.write(0);
//Make LED turn ON
digitalWrite(ledPin, HIGH);
delay(3000);
// Make servo go to 90 degrees
Servo1.write(90);
delay(1000);
// Make servo go to 60 degrees
Servo1.write(60);
delay(500);
// Make servo go to 80 degrees
Servo1.write(80);
delay(500);
//Make LED turn OFF
digitalWrite(ledPin, LOW);
// Make servo go to 110 degrees
Servo1.write(110);
delay(1000);
//Make LED turn ON
digitalWrite(ledPin, HIGH);
// Make servo go to 0 degrees
Servo1.write(0);
//Make LED turn OFF
digitalWrite(ledPin, LOW);
delay(1000);
} |
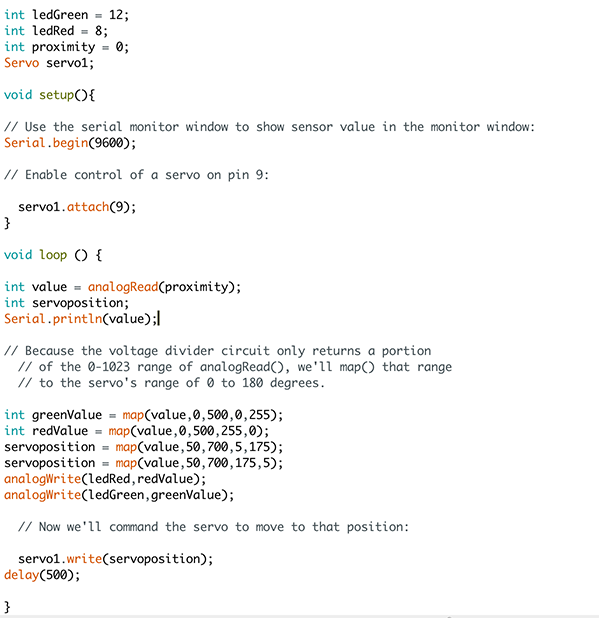
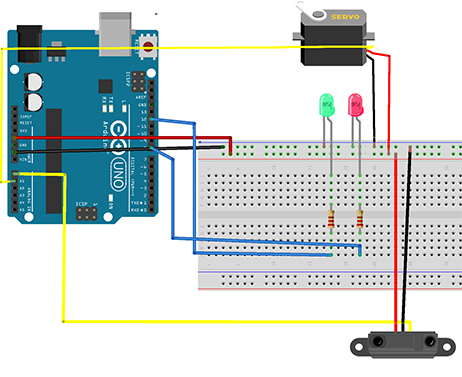
| Servo with Sharp Distance Sensor |
#include <SharpIR.h>
#include <Servo.h>
int ledGreen = 12;
int ledRed = 8;
int proximity = 0;
Servo servo1;
void setup(){
// Use the serial monitor window to show sensor value in the monitor window:
Serial.begin(9600);
// Enable control of a servo on pin 9:
servo1.attach(9);
}
void loop () {
int value = analogRead(proximity);
int servoposition;
Serial.println(value);
// Because the voltage divider circuit only returns a portion
// of the 0-1023 range of analogRead(), we'll map() that range
// to the servo's range of 0 to 180 degrees.
int greenValue = map(value,0,500,0,255);
int redValue = map(value,0,500,255,0);
servoposition = map(value,50,700,5,175);
servoposition = map(value,50,700,175,5);
analogWrite(ledRed,redValue);
analogWrite(ledGreen,greenValue);
// Now we'll command the servo to move to that position:
servo1.write(servoposition);
delay(500);
} |